I've been selected to be on the SweetSassyDiva Design Team! I am SO excited to share my projects with Bobbi Jo and her followers. She is such a sweetheart! Click HERE to go to her blog and meet the rest of the team!
We needed a project to go along with our first week bios, so I designed a Halloween waterfall card using my BRAND NEW Gypsy and my new Mini Monsters cartridge!
I got the original gypsy file from Elizabeth at 217 Creations. She used Plantin Schoolbook for her file, and I don't have that cartridge, so I re-designed the file using George and Basic Shapes. I will be posting both her original file as well as my George file at the end of this post.
I made a video showing exactly how I made the card!
Recipe:
*DCWV Midnight Spell cardstock, glitter and patterned stacks
*Mini Monsters Cartridge
*Happy Hauntings Cartridge
*Crop-A-Dile and black eyelets
*Tim Holtz Dusty Concord Distress Ink
*Recollections Halloween Brads
*Zig 2-Way Glue Pen (for those tiny monsters!)
*Purple Stickles
For the 217 Creations original Gypsy File (Plantin Schoolbook): Click HERE
For my re-designed Gypsy File (George & Basic Shapes): (Click HERE)
Hope you enjoyed! If you have any questions, feel free to leave me a comment or shoot me an email! I love hearing from you :)
I realized I hadn't done a haul video in quite a long time, so I grabbed some of my newer purchases and shot a quick video. TONS of Martha this time! :)
Stay tuned tomorrow, I have an exciting announcement!
Hello everyone! I was perusing Hobby Lobby today and o saw some interesting hang tags in the cricut cart section. They are going to start carrying:
Nifty Fifties
Birthday Bash
Paper Lace
Wrap It Up
Boys Will Be Boys
Simply Charmed (so excited about this one!)
Sesame Street Seasons
I also saw two tags for unreleased carts: Best of Pixar and Disney Classics. I took a picture of the hangtags as proof. :)
Any guesses to which Disney/Pixar movies these carts will contain? Only time will tell!
I posted earlier in the week about a card drive for Madison, a little girl whose Leukemia has resurfaced. Trish at Techniques By Trish is organizing this awesome effort. When I sat down to make her card, I knew I had to make it pink, bright and girly. While looking at my previously made cards for inspiration, I found one that I had already made that fit the occasion perfectly. This pink cupcake card I had made a few months ago, but hadn't found anyone to send it to yet. I decided to make a personalized sparkly envelope for Madison's card. This will be going out in the mail to Trish first thing Monday morning!
If you head over to the Gypsy website, you can get a tiny sneak peek of the Gypsy-exclusive "Smiley Cards" cart that will come out November 1st. Here's the image:
Only six little images, but aren't they CUTE?? This is probably all we're going to get until the update on the 1st.
How do you get Smiley Cards, you ask?
Simple!If you have a Gypsy and get it registered by October 31st, it's yours!! Along with:
*Tags, Bags, Boxes and More
*Blackletter
*Printing Press
*Indie Art
*Christmas
All you have to do is update your Gypsy on November 1st and ALL of these cartridges will be downloaded to your Gypsy for free! I'm getting a Gypsy for Christmas, but we ordered it early so we could get it in time for this update. I don't own any of those cartridges, so I'm super excited. I can't believe I'm finally going to get Tags, Bags Boxes and More. So many great things to look forward to for Christmas! :)
So, if you have a Gypsy, don't forget to register it by October 31st!
Today is another Hello Thursday, and Provocraft is releasing SIX carts for us!
Ornamental Iron (Exclusive to CricutMachine.com)
Paper Lace
Quarter Note
Car Decals
Sesame Street Seasons
Wrap it Up
So, what does everyone think? Are there any Must Haves for you this Hello Thursday? I personally am SO excited about Quarter Note. It's a must have for a music teacher :)
Good morning everyone! I am so excited to debut my FIRST Design Team project for Craft Junkie Too. Our only rule was that we had to do a Fall themed project, so I decided to do some ADORABLE pumpkin cookies using my Cricut Cake!
Recipe:
1 recipe "No-Fail" Sugar Cookie Dough
Brown Chocolate Fondant
Orange Fondant
Here is the recipe for my "No-Fail" Sugar Cookies. It has been a staple on Cake Central for AGES and is pretty much the go-to recipe for shaped cookies, because it holds its shape really well. This recipe can be easily halved to make a smaller amount.
6 cups flour
3 tsp. baking powder
2 cups unsalted butter
2 cups sugar (white granulated)
2 eggs
2 tsp. vanilla extract or desired flavoring (I like almond myself)
1 tsp. salt
Instructions
Cream butter and sugar until light and fluffy. Add eggs and vanilla. Mix well. Mix dry ingredients and add a little at a time to butter mixture. Mix until flour is completely incorporated and the dough comes together.
Chill for 1 to 2 hours (or see Hint below)
Roll to desired thickness and cut into desired shapes. Bake on ungreased baking sheet at 350
degrees for 8 to 10 minutes or until just beginning to turn brown around the edges. This recipe
can make up to 5-dozen 3” cookies.
My cookies spread a little more then I would have liked, but it was UNSEASONABLY humid on the day I made these cookies. Humidity is key, people! For the fondant, I used the "Duff" brand I bought at Michaels (also known as Fondarific).
I have to tell you that I don't normally use store-bought fondant when I bake, but I've yet to be able to tweak my homemade fondant recipes to cut well in my Cake machine. This brand of fondant tastes really good AND cuts great in the machine, so it's a win win! It tends to be a little pricey at Michaels, so whenever I can get a 50% off coupon, I stock up for projects like this. I used the dark brown chocolate and orange buttercream varieties. I have to say, being able to buy fondant in a store already colored that doesn't taste like cardboard is always nice :)
I also made cute little tags for the cookies in Create a Critter. I cut the leaf (the accessory on the Turkey page) at 1 1/2", inked them with Spiced Marmalade Distress Ink, punched holes with my Crop a Dile, and threaded them onto ribbon I found in the Michaels dollar bin.
To create this cute and delicious cookies, I cut the cookie dough AND the fondant with my Cricut Cake. How in the heck did I cut the cookie dough in my Cake, you ask? You're in luck! Today is the debut of my Cricut Cake Video Series, and Episode 1 is cutting cookie dough in your Cake. Here's the video!
I hope this video helps you out. If you have any questions, PLEASE email me or leave a comment with a way to contact you. Next Cricut Cake Series video is cutting fondant with your Cricut!
Now, hop on over to Craft Junkie Too and check out all of Design Team 2's awesome projects! I design with some talented ladies :)
Happy Tuesday everyone! I shot a quick video today showing how to use your Cinch right out of the box. It really is RIDICULOUSLY easy to use! I was able to bind my project in minutes! Here's the video:
Today is also Momo's Tuesday Challenge, and this weeks challenge was to make anything you wanted-as long as it WASN'T a card. I was excited when I saw this because it meant I could play with my new Cinch! So, I made a super adorable Post-It-Note holder for my purse. Now I have post-its on hand whenever I need them! The video above shows exactly how I bound my project, but here's the recipe to make it yourself:
2 3 3/4" squares of chipboard (round the corners)
DCWV Amber Autumn stack
Martha Stewart Elegant Cake Art Cartridge
Brown ink
Cinch or Bind-It-All
Post-It Notes
I used cereal boxes for my chipboard, and they are actually two pieces glued together to make it sturdy enough to keep in my purse. I then glued on the paper, inked the edges with Walnut Stain distress ink, and then punched the holes in my Cinch (see the video for how I did it). I glued the Post-it-Pad onto the back cover with my ATG and then bound the whole project together. I added ribbon, and used the MS Elegant Cake Art Cartridge for the mongram frame. I used the Flourish Frame Creative Feature and cut the image at 2 1/2". I stickled the "K" using Star Dust Stickles (I seriously need a bigger bottle of this stuff, I use it ALL the time!) I think it looks simple and elegant, perfect to pull out at work or in a meeting if you need to jot down a note. I've already had three people today ask me to make one for them! :)
Make sure you stop by my blog tomorrow, because I'll have my VERY FIRST Craft Junkie Too Design Team post! I promise it's going to be delicious ;)
Hello crafty friends! I just received this email from Trish at Techniques By Trish, and as I was preparing to make a card, I thought to share this opportunity with you. Cancer is something that has affected me and my family on many levels, and I hope you can find the time to do something small for a little girl with a big disease.
Hello ladies.
Hope you all are doing well. This email is to ask all of you for some help. Hopefully you can post this info on your blog or attach a link to my blog (techniquesbytrish.blogspot.com).
After working for my parents business for 10 years, you get to know your customers pretty well and over time they become more like friends. One of the customers had told me last year that he was thrilled that his niece, Madison, was in remission from Leukemia! Their family was over joyed that such a young girl had beat this vicious cancer (she's only 6 years old). However, just last week, their family was just hit with the most horrific news........Madison's cancer has returned.
Now I personally do not know Madison BUT I'm the type of person who wants to help whenever I can. I know that I cant cure her but I can help with making her day a little better by sending her a card to put a smile on her face. So, this is where I'm hoping to get your help.....I'm hoping to get a TON of cards to cheer up Madison. "Get well" cards and anything that is super girly would be perfect!!! And if you'd like to send a small gift, ex: a barbie or stuffed animal, I'm sure it would cheer her up and keep her company while she spends the next several weeks in the hospital. I know she loves pink, butterflies, and anything girly.
If your interested in helping please send your cards/packages to the following address by Friday, October 29th(please have it in the mail on or before that date):
Trisha Theo
Po Box 7806
North Port, Florida 34290
Thank you everyone in advance for spreading the word and helping this young girl get through such a hard time,
Trish
PS....if you'd like to send a card to Madison's parents with words of encouragement or your prayers, their names are Bobby & Maria.
I will post my card as soon as it is completed. If you make a card for this little girl or her parents, drop me a line or a comment so I can come to your blog and see your creation.
I have 100 (actually 102) followers! WOW! I'm so blessed and excited! Thank you for following my little 'ole blog. I'm so grateful to each and every one of you! I promised a giveaway at 100 followers, and it's going to happen! Keep your eyes peeled for a giveaway in the VERY near future.
A couple of updates on what's going on in the Crafty Kitchen:
I'm currently editing my first video for my Cricut Cake Series! I hope to have it posted early next week. I've received a lot of comments and emails on what you want to see in my Cake videos, but I still want more! Don't hesitate to email me or comment if you have something you want to see!
I've been on the fence for weeks about getting a Cinch, but I found out my JoAnns is FINALLY carrying them, and I could use my 50% off coupon...so I'm finally a proud Cinch owner! I plan on doing an "out of the box" tutorial video sometime today, where I'm literally going to film taking it out of the box and using it for the first time EVER (I've never used a binding machine before) to see how easy it is! So stay tuned for that as well.
My first Craft Junkie Too Design Team project will be posted on Wednesday! I'm so happy with how it turned out, I can't wait for you to see it!
That's it for now, my crafty friends! I got a few new cartridges this week, so expect next week to be a PROJECT FILLED blogging week. Get excited, I know I am!
Do you own a Cricut Cake, but struggle with using it? Do you have Cricut Cake questions that you can't find answers to?
I'm getting ready to start a series of Cricut Cake videos on my blog, and I want YOUR input! What do you want to see? What questions do you want answered? I use my Cake almost daily, and I want all of you to love your Cricut Cake as much as I do :) Leave a comment on this post, or send me an email (click the cupcake on the right hand side of my blog), and let me know what YOU need to know about the Cricut Cake.
I was perusing the Cricut Message Board last night, and a few lovely ladies had questions about the new Martha Stewart Custom Stamp Setting Kit I found at Michaels last week. I made a quick video to show you exactly what's inside and how it works.
I hope everyone is having a fabulous Tuesday! Stay tuned to my blog for the next few weeks, I have something exciting planned! :)
I was selected as one of the design team members on Craft Junkie Too! I've LOVED Tracy's blog for quite some time now and I can't BELIEVE I got picked. This is my first design team EVER and I can't wait to start sharing my projects on her blog! Here are all of the design team members, be sure to hop over to their blogs and say "Congrats!"
Hi everyone! First off, I would like to give a big HELLO to all of my new followers. We're up to 75 followers in my little corner of the blogosphere, 25 to 100 (and a giveaway!) I truly thank all of you for choosing to follow my blog. I hope you are inspired by my projects. I have a lot more planned for this blog (including Cricut Cake stuff! I REALLY need to put some up!), and I'm glad you are here to experience it with me :)
I finally broke down last week and bought the Martha Stewart Glow in the Dark Glitter. I saw it was cheaper at JoAnns then at Michaels, so I used a coupon and bought it.
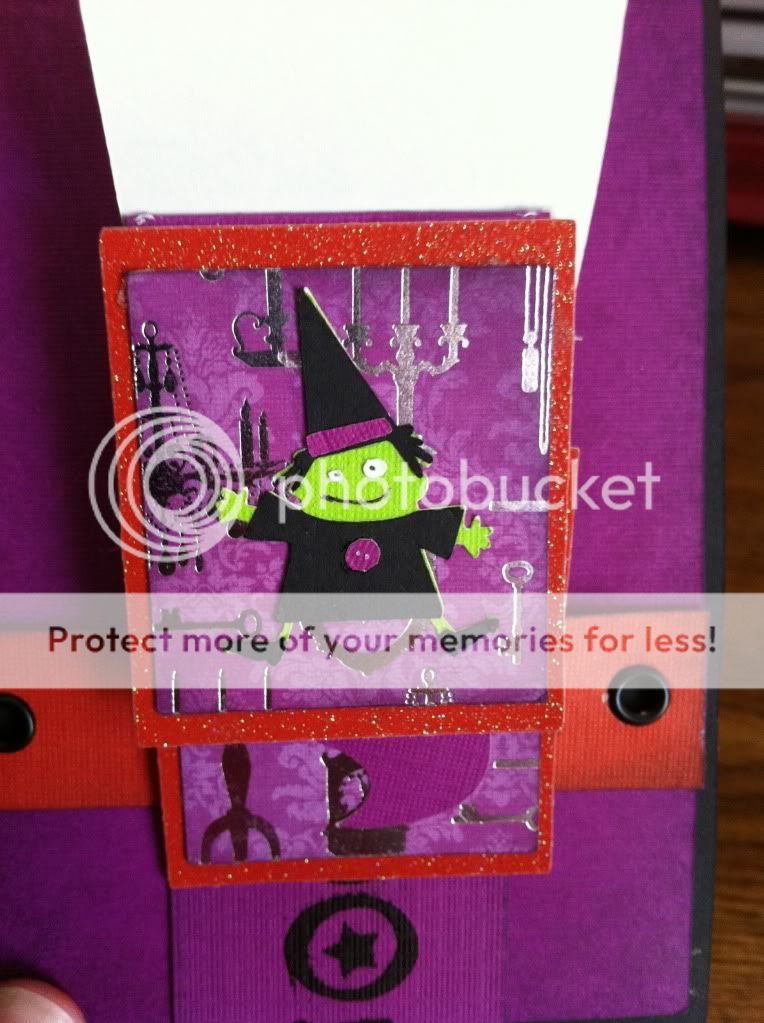
The first thing you should know about this glitter is that it REALLY glows in the dark! I couldn't get a good picture, but MAN it glows. Just make sure you leave your project out in the light for awhile beforehand to "charge". In the daylight, it looks like a clear, fine glitter that looks really nice on projects. I really wanted to test it out, so I threw together a Halloween easel card that I knew her glitter would work on.
Recipe:
4 1/4" by 11" piece of purple cardstock
4 1/4" by 5 1/2" piece of black cardstock
Midnight Spell Matstack (for mat)
Midnight Spell Glitter Matstack (for green glitter paper)
Happy Hauntings cartridge (for mummy)
Michaels Dollar Bin Stamp
White Embossing Powder
Versamark Stamp Pad
Martha Stewart Glow in the Dark Glitter
Martha Stewart Glitter Glue
Martha Stewart Drippy Goo Punch
Recollections brads
White Gel Pen
This is your standard A2 easel card. You can make the sentiment any width or length you'd like, as long as there is enough room for the easel to "pop up" on. I embossed my sentiment with white embossing powder (much easier then stamping in white).
I don't have a Xyron (I really need one) so I had to go over the whole mummy with MS glitter glue before applying the glitter. Make sure you give him plenty of time to dry before putting him on your card. I used pop dots to adhere him, and cut little tiny ones for all of his limbs and the wrapping so he would be supported.
Wanna know the best part?
I mixed in a little of the Glow in the Dark Glitter in with the white embossing powder, so the SENTIMENT glows in the dark too!!! LOVE IT!
If you have this glitter and haven't broken it out yet, you SHOULD! It's so much fun to play with :)
I hope everyone is having a wonderful weekend! Hopefully I should have some BAKING projects up this week, so stay tuned!
Hi everyone! I got quite a few emails asking me how I made my Thanksgiving Tri-Shutter card, so I thought I would make a quick tutorial on how I did it. I'll also include the basic recipe, as well as all the measurements to make the card.
Robyn over at My Pink Stamper is having a Winter Challenge, so I thought this would be a great way to make a tutorial AND a challenge item at the same time! I hope you enjoy it :)
Just remember, on the video I tell you the dimensions of each actual box on the card. To make mats and add patterned paper, subtract a 1/4" from each dimension. On the recipe I will give you the dimensions for my white cardstock mats.
Recipe:
5.5" x 12" piece of green cardstock
Martha Stewart Scoreboard (or any scoring tool)
Paper Trimmer
For front and back panels: 1 3/4" x 5 1/4" white cardstock
For top and bottom panels: 1 1/4" x 1 3/4" (you need 2)
For the middle panels: 2 1/4" by 1 3/4" (you need 2), 2 1/4" by 3 3/4" (you need 1)
3 by 5" piece of white cardstock
DCWV "Winter Combo" paper matstack (all cut 1/4 smaller than white cardstock)
Create a Critter for Reindeer (3 3/4") and "Joy" (1 1/2")
Crop a Dile and 3/16" eyelets
Martha Stewart Glitter Stamping Set (for snowflakes)
Martha Stewart Turquoise Glitter
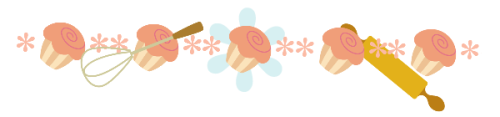
Martha Stewart Stamp Setting Kit (for custom stamp on back)
Hello everyone! Sorry I've been MIA this week, but I'm back with a whole slew of projects. I really wanted to make a video tutorial to go along with this card, but the batteries in my camera were dead and I couldn't find any AAs in the house to save my life :) This card was so fun to make, it was my first tri-shutter card and I can't wait to make more!!!
I cut the turkey from Create-A-Critter at 3 3/4", and the sentiment is at 1". All of the pattern and glitter paper is from DCWV Amber Autumn stack and the solid papers are from a Recollections stack called Spice Market.
Tri shutter cards are actually really simple to put together. I'll be making a video shortly (as soon as I can find some batteries) on exactly how it's done.
I hope everyone is having a wonderful week! :)
To see my Tri-Shutter video tutorial, go to my post HERE
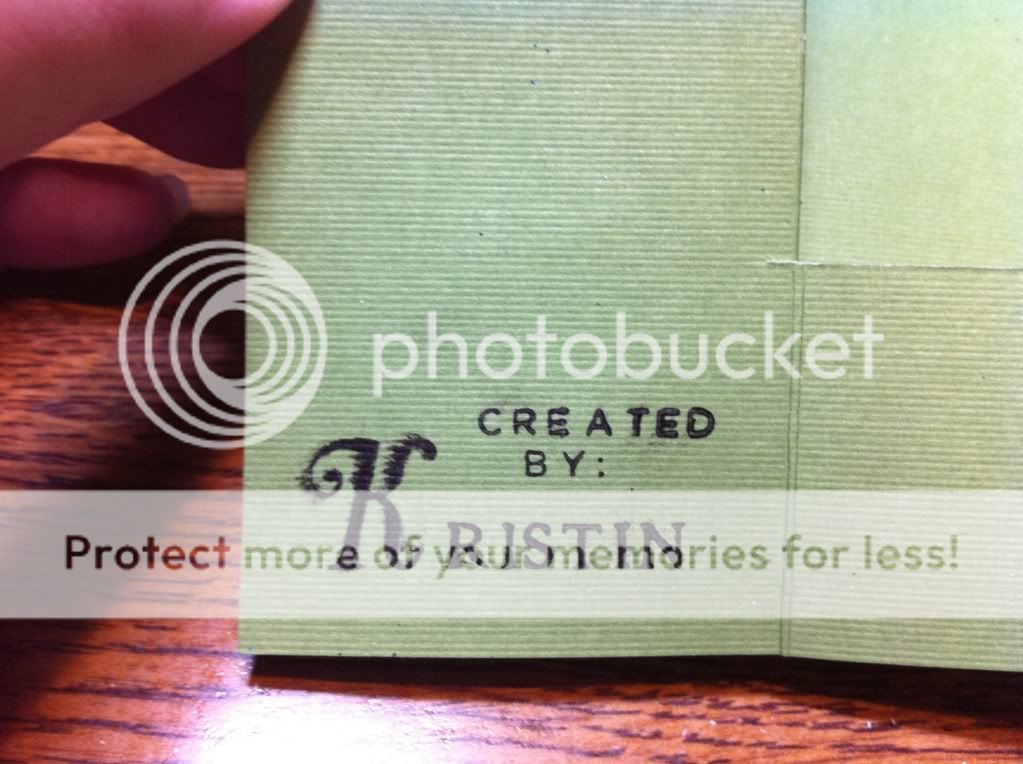
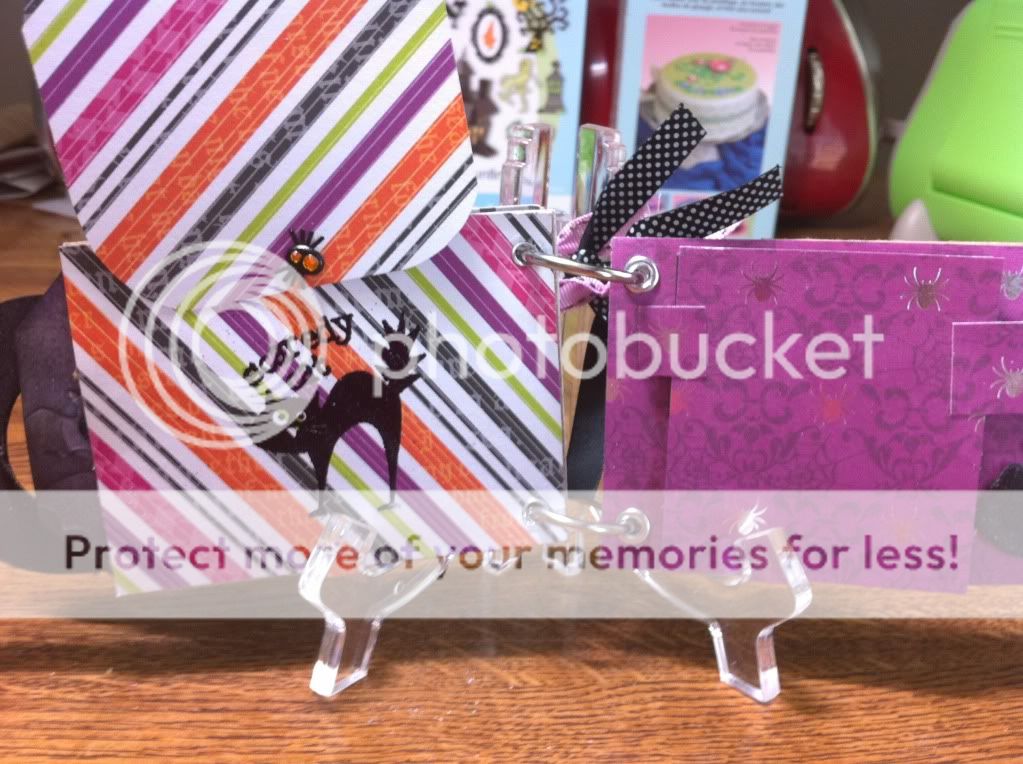
Hi everyone! I hope everyone is having a fabulous weekend. Today I've got a video showing you my newest project, a mini album/wordbook using recycled toilet paper rolls!
I was browsing Cardz TV the other day and I saw a cute little fall mini wordbook she made for a blog hop. I thought it was so neat that I had to try to make it myself. It was so easy to make!
I can't wait to explore the world of mini albums, but, I have to ask:
Bind-It-All or Cinch? I want to get a binding machine but I just CAN'T make up my mind! If you own one of these machines, and have an opinion on why it's the one for me, leave me a comment! I'd love to read what you think :)
What you need:
4 toilet paper rolls, cut in 1/2 inch intervals
Halloween Paper (I reccomend DCWVs "Midnight Spell" stack, it's fabulous!). You need two pieces of patterned paper for each roll.
Anyone that knows me know that I DESPERATELY want a Gypsy. It's at the tippy top top of my "have to have" list. I see all the awesome projects people create with their Gypsy, and I want to get in on it!
I subscribe to an awesome blog, Mixology Crafts. I love all of their craft and jewelery projects using the Cricut and Cuttlebug (you have to check out the Cuttlebug Monogram Cocktail Ring! I LOVE it. I logged on this morning and saw they were having a GYPSY giveaway! Head on over to Mixology Crafts and enter to win!
By the way, if you win and already have one, send it to me! Pretty please? I promise I'll take really good care of her ;)


