Showing posts with label Nestabilities. Show all posts

Wednesday, January 12, 2011

Vintage Flower Headband using the Imaginisce i-Top!

Remember when I told you I was in love with the Imaginisce i-Top?

Well, I wasn't lying.  It had me at hello.  I also knew as soon as I bought it I wanted to use it for more then just papercrafting.  Sarah over at Pink Cricut posted a video a few months ago that showed her making headbands, clips and rings for her daughter.  I loved it, but since I don't have children (yet), I knew I needed to expand on that idea and make accessories for adults to wear as well.

I love lollipop flowers.  They're easy to make, impossible to screw up, and they come out adorable every single time.   I couldn't think of a better vintage looking headband then a lollipop flower headband, so I set to work creating one.


Don't you just LOVE IT!!!!  I've got to share the recipe with you, because it is just too easy for you NOT to try it for yourself!


Recipe:
  • Imaginisce i-Top Tool
  • Small Twist Daddies
  • Imaginisce Headbands
  • Satin Fabric
  • Spellbinder Nestabilities- Standard Circles
  • Cuttlebug
  • Lighter or candle
  • Wide Ribbon
  • Hotfix Crystals
  • Feathers

I cut the circles out of the poly satin fabric using my Nestabilities and my Cuttlebug.  I know a lot of people make lollipop flowers using the Sizzix Circles #2 Die, or you can also cut them freehand.  I burned the edges of each circle with a lighter and then glued them all together with hot glue.  I used my Crop-A-Dile to punch a hole in the flower and then secured it to the headband using a Twist Daddy.


I made a short tutorial showing you how it's done:

The BEST part of this headband is I can make the flowers in a bunch of different colors, then simply pop them on the twist daddy and I have a headband that will coordinate with almost any outfit!
I truly hope you give these a try.  What a great way to repurpose your papercrafting tools!

Saturday, December 18, 2010

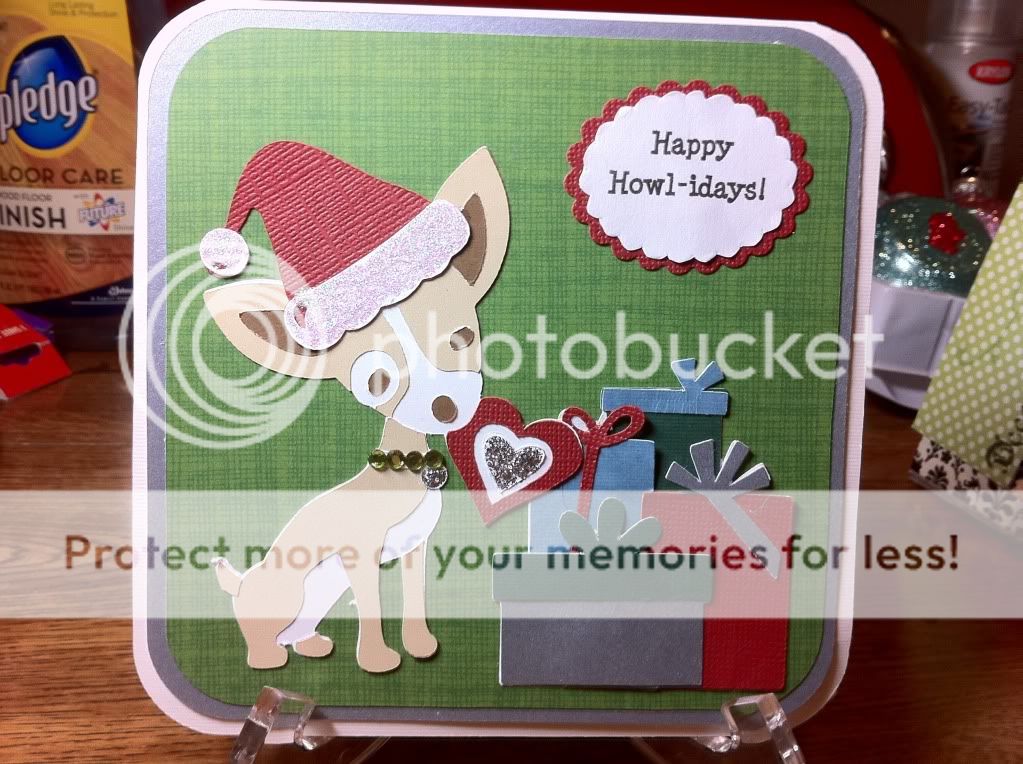
Happy Howlidays!

I needed to make a card to go along with a package I was sending to my friend Monica in Texas.  She's the owner of the fabulous Monica Wants It and Damask Diva Designs on Etsy.  Monica has a fabulous dog named Pee Wee and I wanted to make a holiday card with him on the front.

I got the dog from Four Legged Friends.  Pee Wee is NOT a Chihuahua, but he was the closest I could find.  Have I mentioned how much I LOVE this cart??  There are two dogs on there that look JUST like my two dogs and I can't wait to use them.  Even though Pee Wee is a boy, he is still stylish so I blinged up his collar with my iRock and used silver Stickles on the heart he's holding.

The Santa Hat is from Jolly Holidays.  It actually comes with two different stripe layers, but I hid those in my Gypsy so I could just get the basic Santa Hat shape.  I used clear Stickles on the white parts of the hat to give it a little sparkle.

The stack of presents is from the Winter Frolic cartridge.  Have a mentioned what a PAIN they were to piece together?  I had to stare at that handbook for AGES to figure out which ones to cut which colors, and THEN how to layer them.  They turned out super cute though!

I cut the card at 5.5" using George and Basic Shapes.  I welded two together to form the base of the card and then cut two mats for the front.  Both are from the DCWV Christmas Combo Stack.

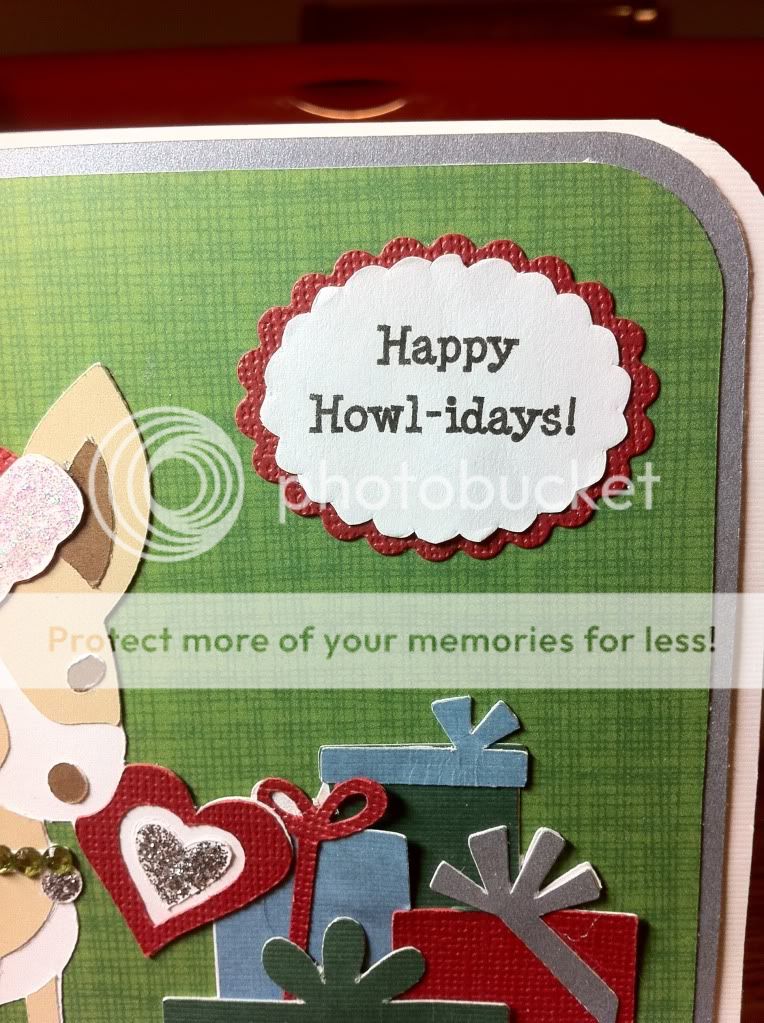
I could NOT find a sentiment to use for this card, so I made my own on my computer.  I can't believe no one has a "Happy Howl-idays" sentiment stamp!  I would definitely buy that one!  I used my brand new Nestabilities in my Cuttlebug to make the scalloped mats for the sentiment.


Hope everyone is having a fabulous weekend!  I'll be doing a LOT of crafting today and next week to get all of my Christmas presents done, so expect a lot of projects! :)