Showing posts with label Cinch. Show all posts

Thursday, December 30, 2010

The Last of My Christmas Projects!

Here is my LAST "Christmas Project" post of 2010.  I promise!

Do you remember the altered recipe box I made a few weeks ago for the Post It Blog Hop?  Well, I showed my Mom and she thought they would be wonderful gifts for her co-workers.  She wanted me to make some things to fill the boxes as well, so I decided to put a set of 3x3" cards and envelopes in each box, along with a monogrammed Post-It Note Holder.  I made SEVEN of these bad boys, and each one was different!


The only Cricut cut I used was for the monogram, and I used the Martha Stewart Elegant Cake Art cartridge.  Most of the patterend paper is from Recollections (I took my Mom to Michaels and let her pick out all the patterned paper), and most of the solid paper is Post-It Craft Paper!    

Each one had a different Martha Stewart border punch around the top, and I used Stickles on each of the monograms (hard to see in the photos).  I bound all the Post-It Note holders with my Cinch!

These are extremely cute and SUPER AFFORDABLE gifts.  The recipe boxes were $1.00 at Michaels, and we bought the paper and ribbon during a sale.  The Post-It Note holders are made from 4x4 chipboard coasters I got at Michaels on clearance for 30 cents a pack!

Sunday, December 12, 2010

SweetSassyDiva Design Team: Perpetual Desktop Calendar

Hey everyone!  This week on the SweetSassyDiva Design Team our challenge was to make something using our Cinch, BIA or Your Story Photo.  I own a Cinch and LOVE it so I wanted to create something out of the ordinary.  A few months ago I saw a picture of a perpetual desktop calendar someone had made using a Bind-It-All, but with no instructions.  So, I decided to make up my own instructions and give it a go!
Recipe:
  • 4 pieces of lightweight chipboard
  • 5 pieces of coordinating cardstock
  • Cinch Binding Machine
  • Black 3/4" o-wires
  • Recollections "Flourish Month" Stamp Set
  • Inkadinkadoo "Months and Days" Stamp Set
  • Inkadinkadoo "Sketchy Flourishes" Stamp Set
  • Versamark Pad
  • Clear Embossing Powder

    To create the base, I cut a piece of chipboard at 8x12".  I scored it at 4 1/2" and 7 1/2" and covered the inside AND outside with black and white paper from the Black Currant Stack from DCWV.  I then took my Cinch and punched holes on both of the 8" side using the machine instructions.

    To create the small pieces, I cut 9 strips of 4 x8" chipboard and punched them on one of their 8" sides, pulling pegs 4, 8 and 12.  I then cut them into 2 x 4" strips.  I did the same with the paper and adhered the cut strips to the cardstock strips.
    I organized the strips in to corresponding piles and stamped them.  I bound the whole thing with my Cinch and VOILA!  A calendar I can use year after year.

    These would make great gifts for someone in your office or family, and they are so easy to make!  Here's a video walking you through it:


    Have a great week everyone!

    Wednesday, December 8, 2010

    Craft Junkie Too Design Team Day: Holiday Organization

    This week for Craft Junkie Too, our task was to show something that we use to get organized for the holidays.

    I'm not going to lie.  This was a challenge for me, mostly because organization is something I'm still working on in my every day life, not to mention the holidays.

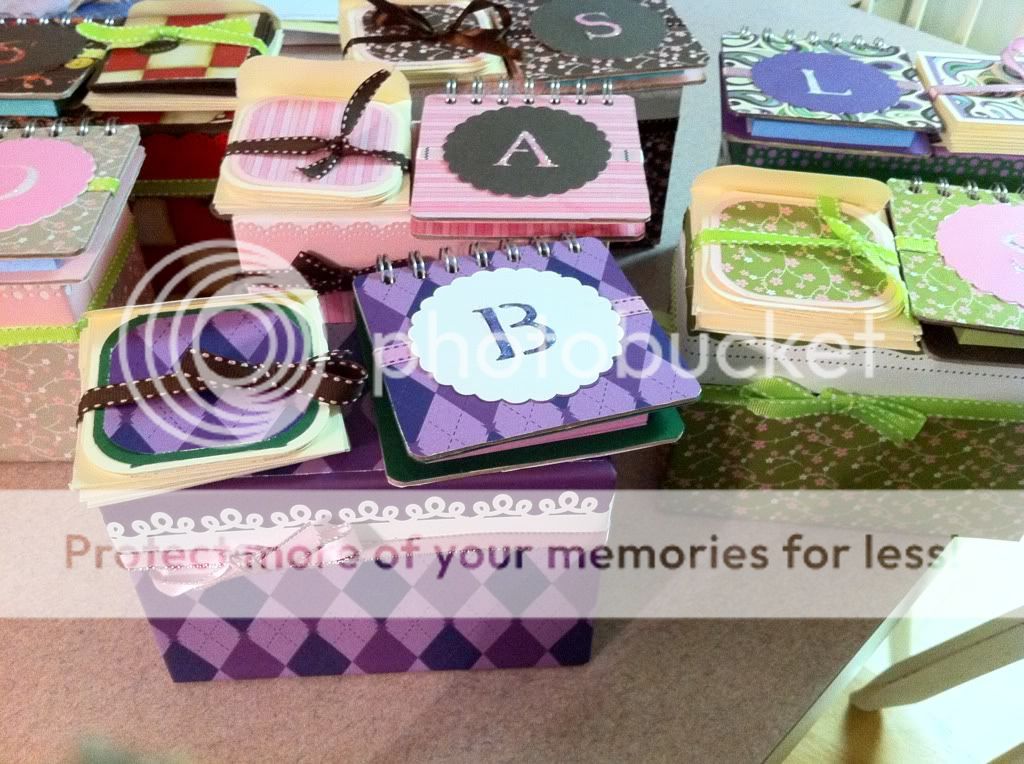
    I saw this cute little shopping organizer from Laura at Following the Paper Trail and knew this was something I could use to my advantage to stay organized this holiday season.  I wanted to make mine a notebook as well, so I took her idea and ran with it.

    The cover is two pieces of 5x7 chipboard with a 3/4 x 7 strip in between.  I glued them down to a 12 x 8 inch piece of cardstock from the DCWV Christmas Combo Stack.  After I snipped the corners, I wrapped the cardstock around the chipboard and then added an inner piece that was slightly smaller.

    The coupon expanding file is also taking from Laura's original organizer.  She simply took 4 x 8 pieces of cardstock and scored them at 3/4" on each side.  I took Terrifically Tacky Tape and taped the folded edges of one to the back of another until they were all adhered together.  After gluing on a front cover, you make the "binding" by taking a 2 1/2 x 6 1/2 strip, punching a border, and gluing it to the bottom.  Voila!  Expanding file.

    The file tabs were made with the From My Kitchen cartridge.  I used my Gypsy to size them so they would be slightly bigger then the 4x6 paper I wanted to put in between.  I ran each file through my Snowflakes Cuttlebug folder.  I used my Cinch to bind the three sections of my "notebook" together, and then glued the back cover to the actual back cover of the book to keep it inside.

    The front cover is very simple, as I knew this would be in my purse and I didn't want things falling off.
    This is the Martha Stewart Vintage Dove Punch.  I have walked past that punch countless times in the last few months, and every time I had an internal argument with myself about whether I should buy it or not.  I finally bit the bullet and grabbed it and I'm SO glad I did.  I ran them both through my Xyron, added Martha Stewart Garnet glitter, and then covered them both with Glossy Accents after I realized that the glitter would go ALL OVER the inside of my purse if I didn't :)

    Here's a video walking you through it:


    Have a fabulous day everyone!  Don't forget to check and see if you won the Martha Stewart punch from the Post it Blog Hop this past weekend!

    Tuesday, October 19, 2010

    Cinch Out-Of-The-Box Tutorial, plus Momos Tuesday Challenge!

    Happy Tuesday everyone!  I shot a quick video today showing how to use your Cinch right out of the box.  It really is RIDICULOUSLY easy to use!  I was able to bind my project in minutes!  Here's the video:


    Today is also Momo's Tuesday Challenge, and this weeks challenge was to make anything you wanted-as long as it WASN'T a card.  I was excited when I saw this because it meant I could play with my new Cinch!  So, I made a super adorable Post-It-Note holder for my purse.  Now I have post-its on hand whenever I need them!  The video above shows exactly how I bound my project, but here's the recipe to make it yourself:

    • 2  3 3/4" squares of chipboard (round the corners)
    • DCWV Amber Autumn stack
    • Martha Stewart Elegant Cake Art Cartridge
    • Brown ink
    • Cinch or Bind-It-All
    • Post-It Notes
     I used cereal boxes for my chipboard, and they are actually two pieces glued together to make it sturdy enough to keep in my purse.  I then glued on the paper, inked the edges with Walnut Stain distress ink, and then punched the holes in my Cinch (see the video for how I did it).  I glued the Post-it-Pad onto the back cover with my ATG and then bound the whole project together.  I added ribbon, and used the MS Elegant Cake Art Cartridge for the mongram frame.  I used the Flourish Frame Creative Feature and cut the image at 2 1/2".   I stickled the "K" using Star Dust Stickles (I seriously need a bigger bottle of this stuff, I use it ALL the time!) I think it looks simple and elegant, perfect to pull out at work or in a meeting if you need to jot down a note.  I've already had three people today ask me to make one for them!  :)

    Make sure you stop by my blog tomorrow, because I'll have my VERY FIRST Craft Junkie Too Design Team post!  I promise it's going to be delicious ;)