Tuesday, September 28, 2010

Ghouls Just Wanna Have Fun!

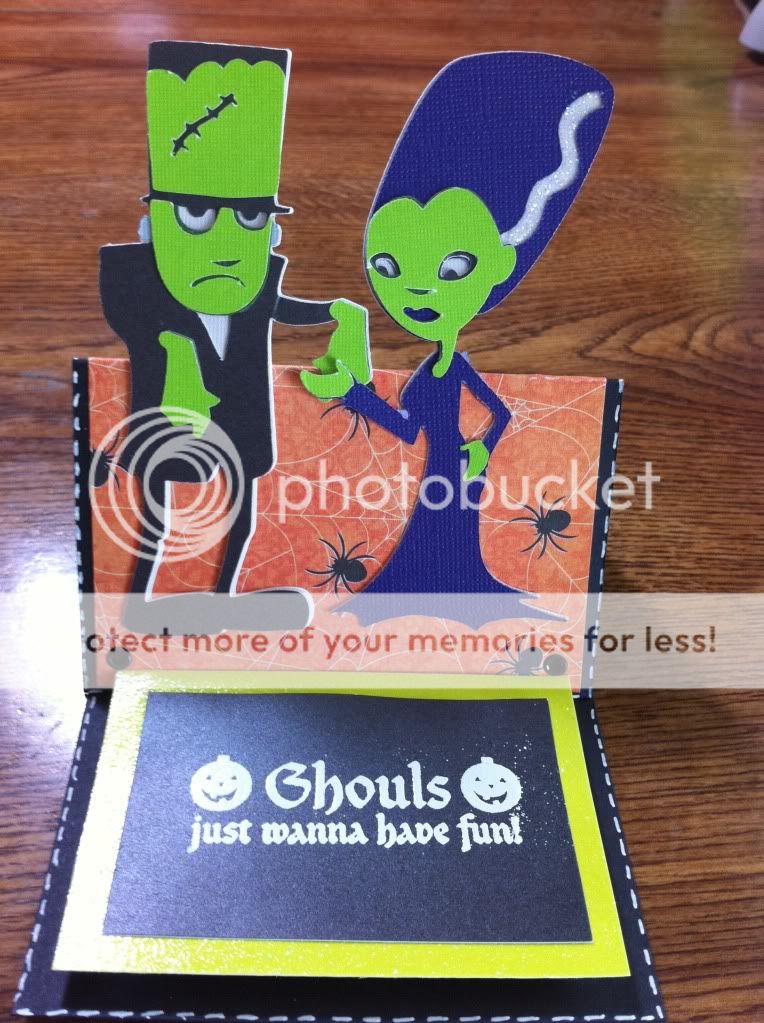
I've had this card rolling around in my head for a few days, and when I saw Momo's Tuesday Challenge today and realized I could make the color scheme fit, I decided to go for it.  Her challenge rules this week were using the colors orange, green, and yellow, and you also had to do faux stitching or doodling somewhere on the card.   Most of the examples I saw were fall cards, but, lets be honest, I'm obsessed with Halloween right now, so I made a Halloween card!


On Momo's blog earlier this week, she featured an ADORABLE penguin easel card, and that is where I got the idea for this card.  If you want a super easy to follow easel card tutorial, go to her YouTube channel.  She's so easy to follow :)

Recipe
DCWV Midnight Spell Paper and Cardstock
Cricut Happy Hauntings Cartridge
Crop a Dile and Eyelets
White Embossing Powder
Versamark Stamp Pad
Heat Gun
Dimensionals
White Gel Pen

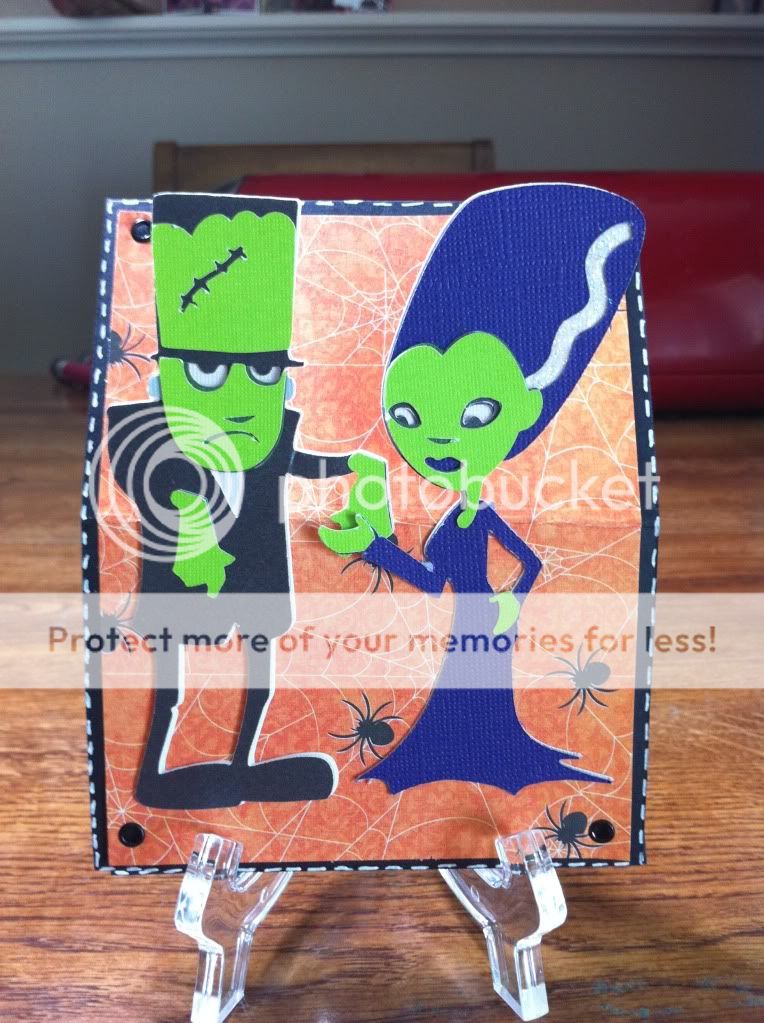
I started with a 4 1/4 x 11" piece of black cardstock, and I scored it at 2 3/4 and 5 1/2.  This forms the base of the easel card.  I set eyelets in the corners of the spider paper using my Crop a Dile and then adhered it to the cardstock.  I cut Frankenstein and his bride at 4 1/2 inches (they were surprisingly easy to assemble) and then glued the bottom half of their bodies to the lower half of the card, below the score line.  That way they will pop up when you set up the easel. I also glued their hands together :) I used a little Startdust Stickles on Mrs. Frankys white hair streak, because let's face it, even monsters deserve a little bling, right?

The sentiment was from the Michaels $1 bin.  I can't stress enough the pure awesomeness of that bin.  I have found so many wonderful $1 cardmaking finds there!  I stamped with the Versamark pad, and then embossed it with white embossing powder.  This is another tip I picked up from Momo (are we sensing a pattern here?) from her Ustream class last night.  It is sooooo much easier to emboss in white then it is to stamp in white.  Stamping in white NEVER comes out right for me, no matter what ink I use.  Using the white embossing powder was the best idea, and the sentiment looks perfect!

I popped up the sentiment on Pop Dots, faux stitched around the card and VOILA!  There you have it.  When you fold the card back down, it is the perfect A2 size.
On an unrelated note, I was playing around with my new Distress Inks to get ready for a project I'm doing in a few days, and I made this tag.

Isn't that COOL???   The two colors on that tag are Spiced Marmalade and Walnut Stain (can you believe that tag used to be white?). I also used my Cuttlebug and a Sizzix embossing folder to emboss bats all over the tag.  I'm slowly becoming obsessed with Distress Inks...

Have a great day everyone!!


Monday, September 27, 2010

"Thankful" Fall Card Video

We are FINALLY getting fall-like temperatures around here (yay open windows and no A/C!), so I was itching to use my new DCWV Amber Autumn Stack, so I whipped up a cute Joy Fold fall themed card.  This is also the first time I've inked the edges of all of my pages.  I was TERRIFIED of not doing it correctly and ruining my paper, but it all turned out find and I love the look it gives paper.  I finally bit the bullet and bought some Tim Holtz Distress Ink (In Walnut Stain and Spiced Marmalade) along with the applicator to use in a future project, I've pretty much decided I'm going to have to collect all the colors because I couldn't decide which ones I wanted!


I hope everyone is having a happy Monday!  I'm in the process of working on a HUGE cupcake wrapper order that is pretty much dominating all of my craft time, but I hope to be done in a few days so I can play again!

Sunday, September 26, 2010

Missouri ICES Fall Day of Sharing

Today I had the privilege to attend the Missouri ICES (International Cake Exploration Societe) in Columbia, MO.  It was an all-day event, and I learned SO much from all of the talented demonstrators.  I went with a few ladies from my cake club, and we had a blast.  Here's some pictures of what we learned today!

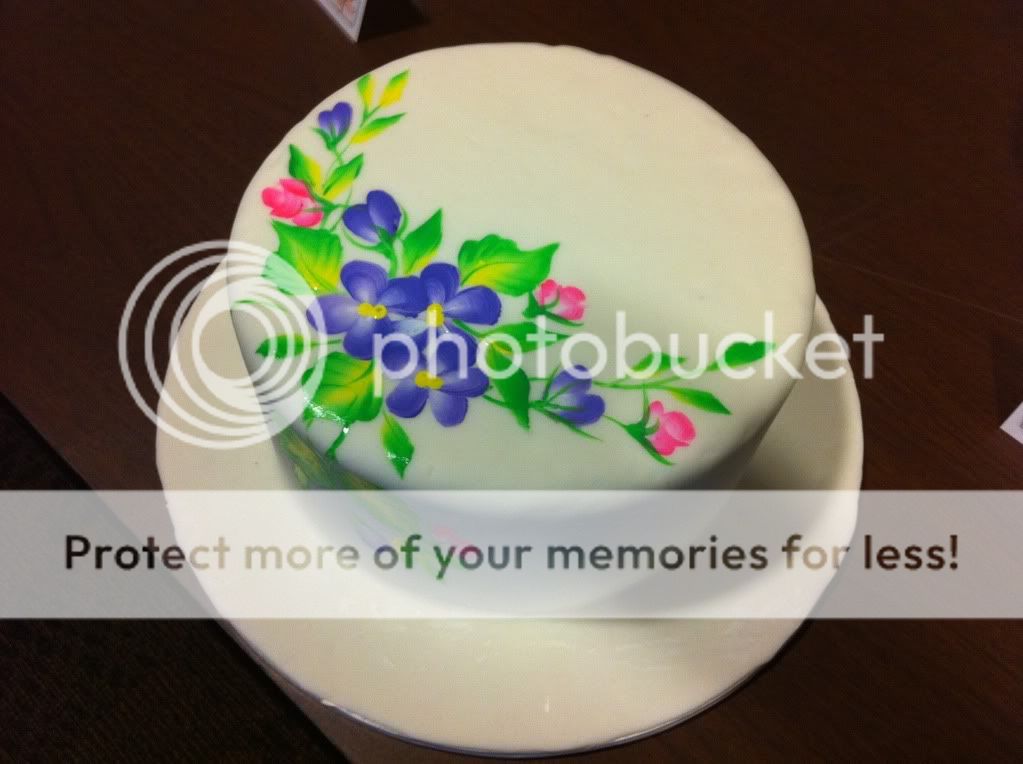
This woman is a certified one-stroke painting instructor, and she's applied her knowledge to cake decorating.
Is this not GORGEOUS??  She's teaching a class in the next few weeks on this technique, and I can't wait to take it!


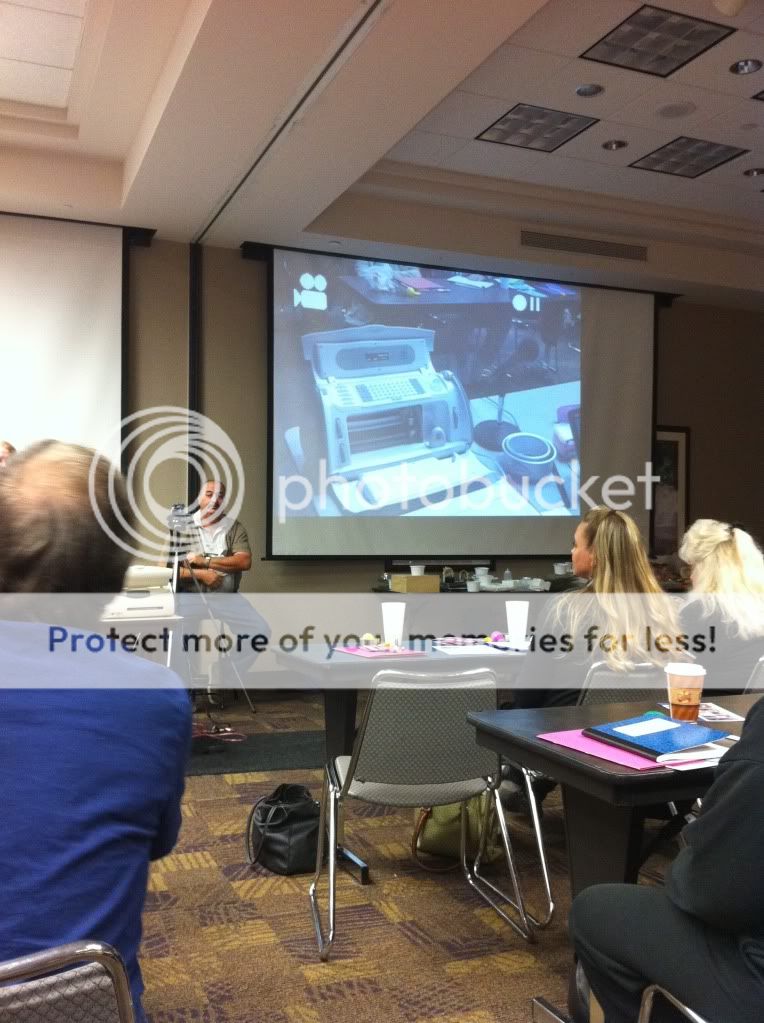
Linda McClure's Cricut Demo.  She did not use the Cricut Cake, only the Baby Bug with Make The Cut    

Linda also demonstrated the Silhouette machine, which, combined with a laptop and printer with edible ink, can both print on and cut out gumpaste.  I was talking with Linda before her demo and she said "Wait until you see the Silhouette.  It will make you hate your Cricut Cake".
My opinion?

The Silhouette machine was a neat demo to watch, but honestly, the cut and print images just were not the look I like on cakes.  Some of the display cakes they had really looked like you printed out paper and glued it to your cake.  Just not the asthetic I like.  PLUS, you'd have to buy a seperate printer and edible inks to get it all to work.  I'd rather stick to what I know and love.  No worries, I'm still a Cricut Cake lover!  :)

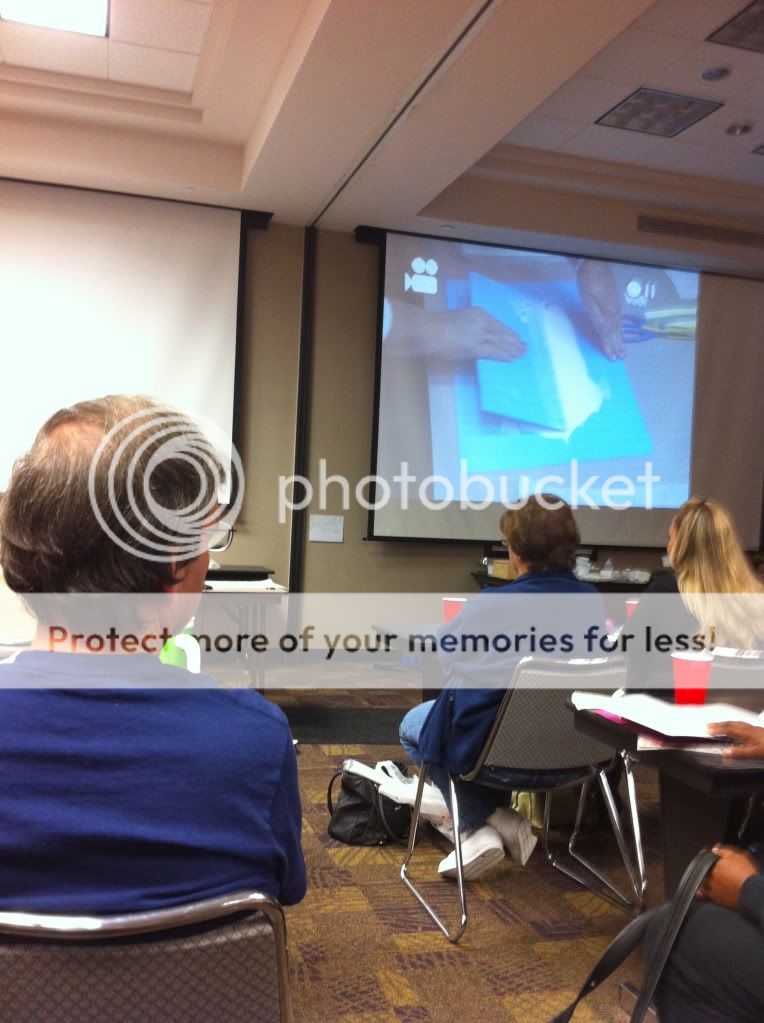
We got to watch an AWESOME SugarVeil demo.  I can't wait to use this stuff!  

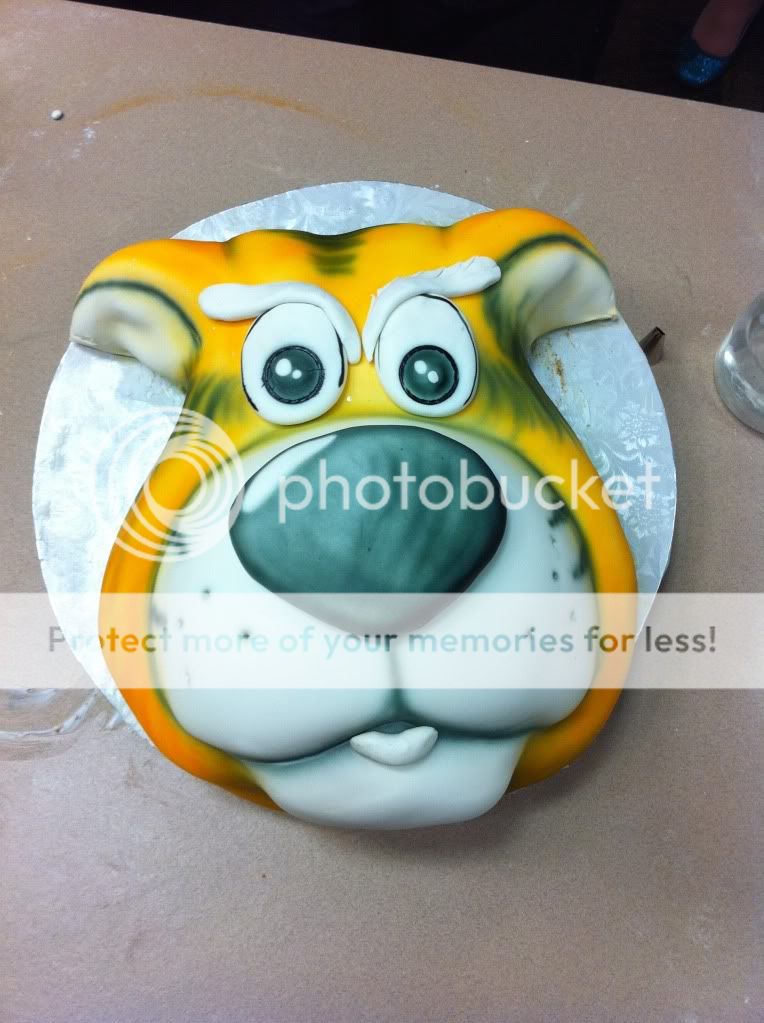
Mike Elder (of TLC fame) was there to do a great cake sculpting/airbrushing demo.  He let us choose the cake we wanted him to carve, and I shouted out "Truman!".  For those who don't know, Truman is Mizzous mascot, and he looks a little something like this:


Mike thought this was an excellent idea and decided to carve his face.  This was the final product, all carved covered, and airbrushed in under 45 minutes!

Is this not AMAZING?????  It was incredible to watch.

Mike and his cake.

Don't tell anyone, but I think he is adorable and after watching him work I may have a teeny tiny crush on him. I'm pretty sure I asked more questions then anyone else in the room ;)

I cannot WAIT for the next ICES event.  I always learn so much and come away so inspired.

I hope everyone is having a great weekend, I can't wait to share some of my new projects with you next week! 

Thursday, September 23, 2010

My Pink Stamper 5 million hits challenge!


Robyn at My Pink Stamper (http://mypinkstamper.com/) is celebrating 5 million hits, and I have to say, no one deserves it more than her. She is an all around great person with great creative style. To celebrate, shes having a day full of challenges and giveaways. 


Her first challenge is a card with a bird on it, and here is my entry!I used Wild Card to make this simple Get Well Soon Card and matching envelope. I love to take the cuts they give you and then personalize it using my own style. I think it turned out super cute!

I also apologize for the color quality on these photos.  My poor digital camera bit the dust and until I get a new one, I've been taking pictures with my iPhone.  The birds and the frame are supposed to be yellow, and I covered the frame in Stardust Stickles.  Don't worry, a new camera is on the way :)


Wednesday, September 22, 2010

Go Tigers!!!


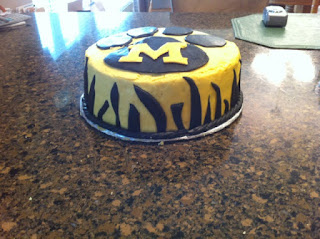
I made a buttercream cake this weekend for my mom to take to a fundraiser.  I live in Columbia, MO, home of the Mizzou Tigers, and I figured a Mizzou cake would go over well.  I cut the paw print, the M, and the tiger stripes all by hand.

Why no Cricut Cake, you ask?

I decided to do a cake without using my Cricut, mainly because I wanted to remind myself that the Cricut Cake is a tool, just like any other caking tool I own.  I don't want to rely on it for every little cut I make, because then I'll stop using my OWN skills to decorate.  I LOVE my Cricut Cake, and use it ALL the time, but sometimes cakes using just me and my hands are great too :)

Oh, and as an added bonus, the inside of the cake is fudge marble, colored black and gold.  How's that for some team spirit?  :)


Materials Used:

*Black Fondant: Fondariffic (or Duff brand, if you're buying it at Michaels)
*Gold fondant (for "M"): Satin Ice
*Clay extruder (For rope border)
*Homemade buttercream

Hey, do you want the easiest, tastiest buttercream recipe ever?  Here it is!


*1 1/3 cup Crisco
*1/2 to 1/3 cup of milk, depending on consistency needed
*3 Tbsp powdered Dream Whip (you can buy this in your grocerys baking aisle)
*3 Tbsp of flavorings (use whatever you want, but I usually do 2 Tbsp vanilla and then 1 Tbsp of either butter flavoring or almond extract, depending on how sweet I want it)
*2 lbs powdered sugar

Throw all of that into a stand mixer, let it mix on about 10 minutes and you have pure deliciousness.


Have a great day, and happy caking!  :)

Tuesday, September 21, 2010

Thinking of You...


I'm beginning to think my craft habits are affected by my mood.  Today was a blah day, dreary, rainy, and I didn't get much sleep.  When I went to craft, I didn't reach for those bright pinks and purples like I usually do.  Today was all about naturals and browns.  I really wanted to experiment with my Perfect Pearls, so I inked up a damask stamp with Perfect Medium, stamped it on a piece of off white cardstock, and then brushed it with Forever Violet.  I thought it came out super cute, with a great distressed look.  All of the other papers are from DCWV's Naturals stack.  The butterfly is a Cuttlebug die that comes with matching embossing folders, and the punch is EK Success.  Stamp from Hero Arts.

My love for Perfect Pearls is growing, although I have to say I'm not too crazy about the tiny thing of Perfect Medium that comes in the kit.  I'm going to have to grab a Versamark pad the next time I go to Michaels.  You can't tell from the picture, but the damask pattern is really shimmery and shiny in the light.  I can't wait to start experimenting with Perfect Pearls!


Stay tuned this week,  I'm going to have a fall card as well as some baking projects!

Monday, September 20, 2010

Testing

Testing out mobile blogging on my new iPhone. Let's hope it works!!
I'll test pictures with a shot of my sweet Bella (who, in case you're wondering, is NOT named after those awful Twilight books):