Showing posts with label Halloween. Show all posts

Saturday, October 30, 2010

Exciting Announcement!

I've been selected to be on the SweetSassyDiva Design Team!  I am SO excited to share my projects with Bobbi Jo and her followers.  She is such a sweetheart!  Click HERE to go to her blog and meet the rest of the team!

We needed a project to go along with our first week bios, so I designed a Halloween waterfall card using my BRAND NEW Gypsy and my new Mini Monsters cartridge!

I got the original gypsy file from Elizabeth at 217 Creations.  She used Plantin Schoolbook for her file, and I don't have that cartridge, so I re-designed the file using George and Basic Shapes.  I will be posting both her original file as well as my George file at the end of this post.

I made a video showing exactly how I made the card!


Recipe:

*DCWV Midnight Spell cardstock, glitter and patterned stacks
*Mini Monsters Cartridge
*Happy Hauntings Cartridge
*Crop-A-Dile and black eyelets
*Tim Holtz Dusty Concord Distress Ink
*Recollections Halloween Brads
*Zig 2-Way Glue Pen (for those tiny monsters!)
*Purple Stickles


 For the 217 Creations original Gypsy File (Plantin Schoolbook): Click HERE
 For my re-designed Gypsy File (George & Basic Shapes): (Click HERE)

Hope you enjoyed!  If you have any questions, feel free to leave me a comment or shoot me an email!  I love hearing from you :)

Sunday, October 10, 2010

Glow in the Dark Mummy Card

Hi everyone!  First off, I would like to give a big HELLO to all of my new followers.  We're up to 75 followers in my little corner of the blogosphere, 25 to 100 (and a giveaway!)  I truly thank all of you for choosing to follow my blog.  I hope you are inspired by my projects.  I have a lot more planned for this blog (including Cricut Cake stuff!  I REALLY need to put some up!), and I'm glad you are here to experience it with me :)

I finally broke down last week and bought the Martha Stewart Glow in the Dark Glitter.  I saw it was cheaper at JoAnns then at Michaels, so I used a coupon and bought it.
The first thing you should know about this glitter is that it REALLY glows in the dark!  I couldn't get a good picture, but MAN it glows.  Just make sure you leave your project out in the light for awhile beforehand to "charge".  In the daylight, it looks like a clear, fine glitter that looks really nice on projects.  I really wanted to test it out, so I threw together a Halloween easel card that I knew her glitter would work on.


Recipe:
  • 4 1/4" by 11" piece of purple cardstock
  • 4 1/4" by 5 1/2" piece of black cardstock
  • Midnight Spell Matstack (for mat)
  • Midnight Spell Glitter Matstack (for green glitter paper)
  • Happy Hauntings cartridge (for mummy)
  • Michaels Dollar Bin Stamp
  • White Embossing Powder
  • Versamark Stamp Pad
  • Martha Stewart Glow in the Dark Glitter
  • Martha Stewart Glitter Glue
  • Martha Stewart Drippy Goo Punch
  • Recollections brads
  • White Gel Pen

This is your standard A2 easel card.  You can make the sentiment any width or length you'd like, as long as there is enough room for the easel to "pop up" on.  I embossed my sentiment with white embossing powder (much easier then stamping in white).

I don't have a Xyron (I really need one) so I had to go over the whole mummy with MS glitter glue before applying the glitter.  Make sure you give him plenty of time to dry before putting him on your card.  I used pop dots to adhere him, and cut little tiny ones for all of his limbs and the wrapping so he would be supported.

Wanna know the best part?

I mixed in a little of the Glow in the Dark Glitter in with the white embossing powder, so the SENTIMENT glows in the dark too!!!  LOVE IT!

If you have this glitter and haven't broken it out yet, you SHOULD!  It's so much fun to play with :)

I hope everyone is having a wonderful weekend!  Hopefully I should have some BAKING projects up this week, so stay tuned!

Saturday, October 2, 2010

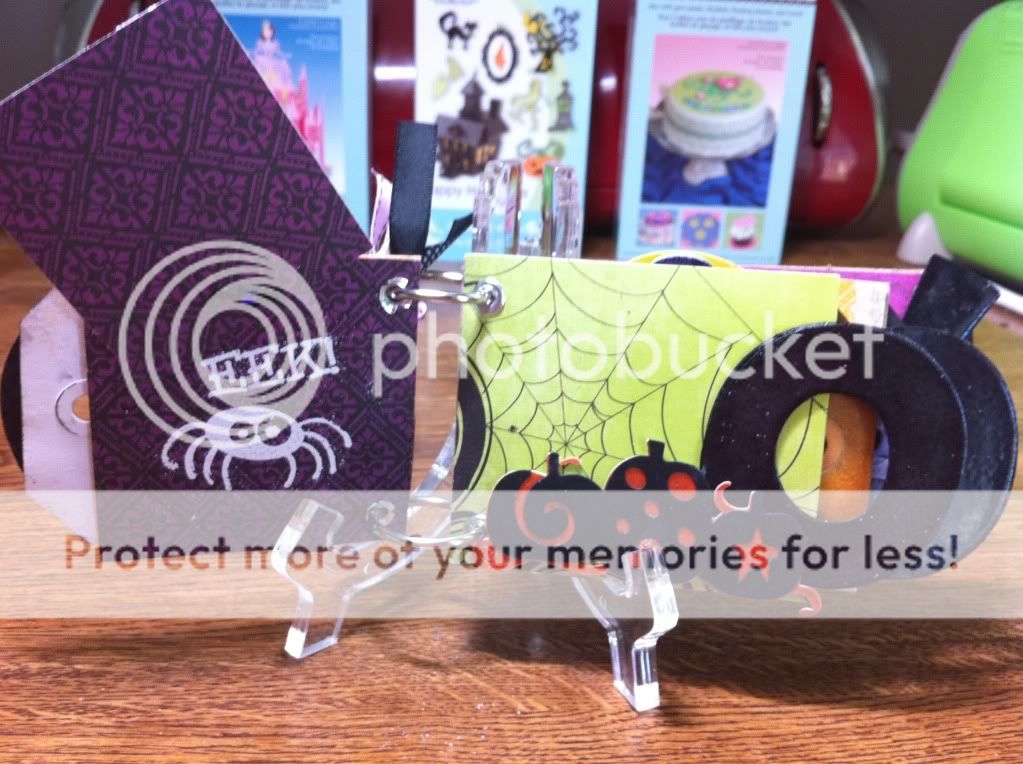
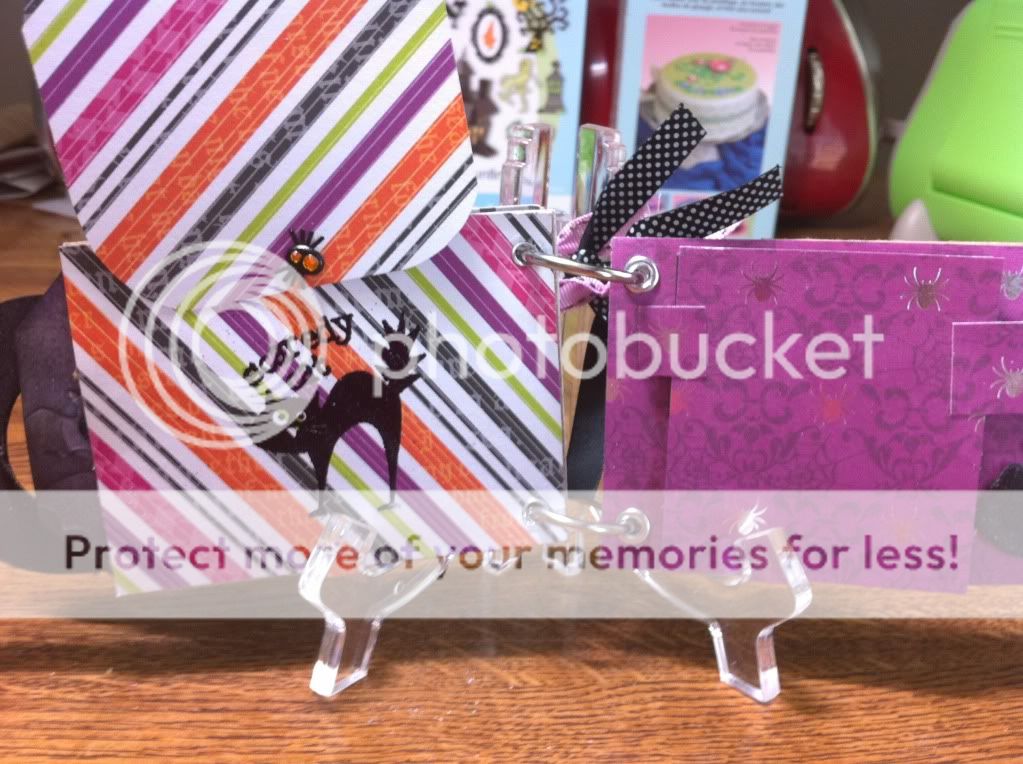
"Boo" Recycled Mini Wordbook

Hi everyone!  I hope everyone is having a fabulous weekend.  Today I've got a video showing you my newest project, a mini album/wordbook using recycled toilet paper rolls!

I was browsing Cardz TV the other day and I saw a cute little fall mini wordbook she made for a blog hop.  I thought it was so neat that I had to try to make it myself.  It was so easy to make!

I can't wait to explore the world of mini albums, but, I have to ask:

Bind-It-All or Cinch?
I want to get a binding machine but I just CAN'T make up my mind! If you own one of these machines, and have an opinion on why it's the one for me, leave me a comment!  I'd love to read what you think :)


What you need:
  • 4 toilet paper rolls, cut in 1/2 inch intervals
  • Halloween Paper (I reccomend DCWVs "Midnight Spell" stack, it's fabulous!).  You need two pieces of patterned paper for each roll.
  • Cricut Happy Hauntings Cartridge (Fence, Tombstone Tags)
  • Cricut Birthday Cakes Cartridge (BOO font)
  • Cricut Holiday Cakes Cartridge (Pumpkins, Happy Halloween)
  • Crop-A-Dile and 3/16" eyelets
  • Binder Rings
  • Large Tags (cut to fit each pocket)
  • Tim Holtz Distress Inks in Spiced Marmalade, Dusty Concord, and Black Soot
  • Martha Stewart Halloween Clear Stamp Set
  • Versamark Pad, clear and black embossing powder
  • Stickles, brads, and any other embellishments you want to use

Tuesday, September 28, 2010

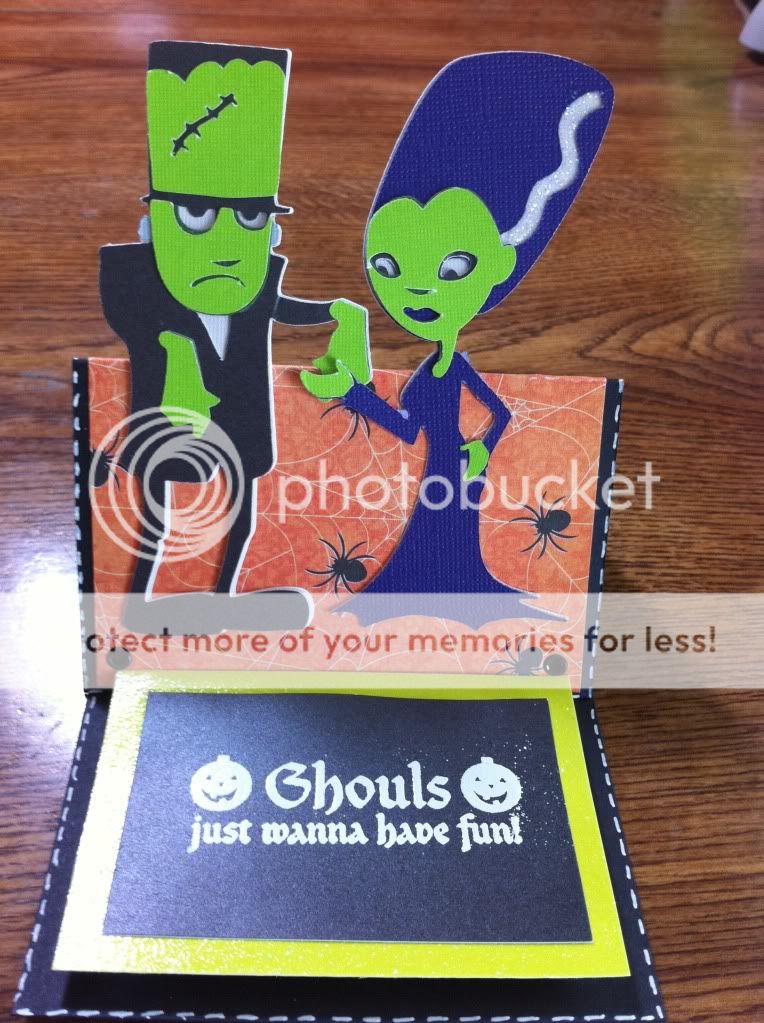
Ghouls Just Wanna Have Fun!

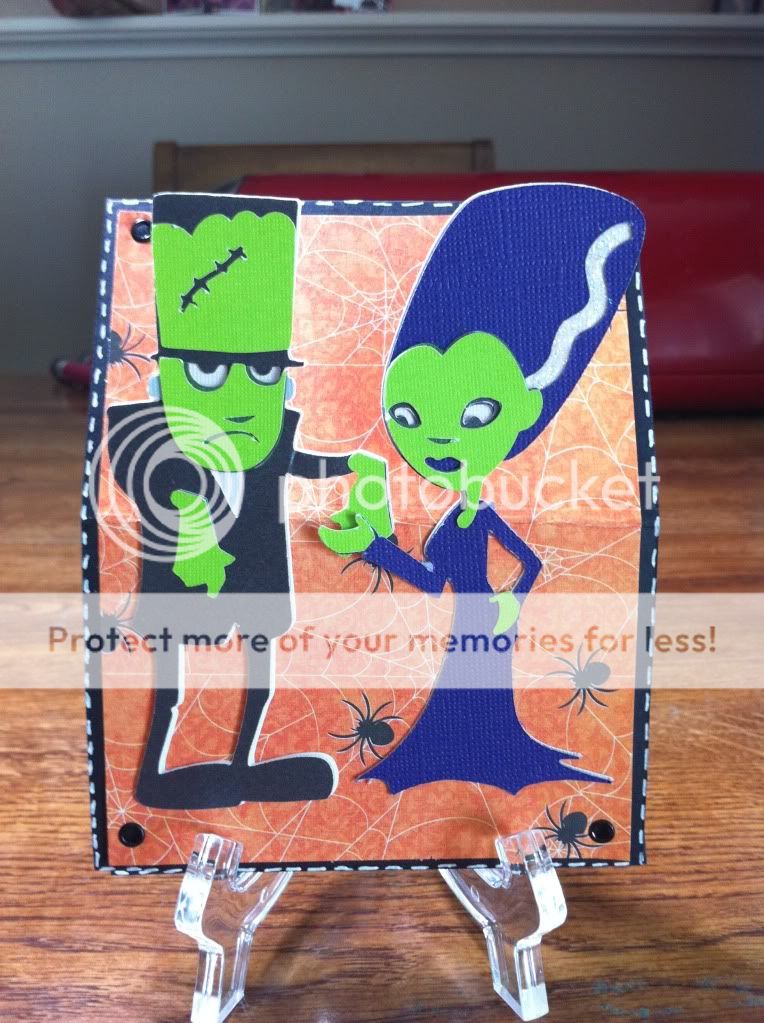
I've had this card rolling around in my head for a few days, and when I saw Momo's Tuesday Challenge today and realized I could make the color scheme fit, I decided to go for it.  Her challenge rules this week were using the colors orange, green, and yellow, and you also had to do faux stitching or doodling somewhere on the card.   Most of the examples I saw were fall cards, but, lets be honest, I'm obsessed with Halloween right now, so I made a Halloween card!


On Momo's blog earlier this week, she featured an ADORABLE penguin easel card, and that is where I got the idea for this card.  If you want a super easy to follow easel card tutorial, go to her YouTube channel.  She's so easy to follow :)

Recipe
DCWV Midnight Spell Paper and Cardstock
Cricut Happy Hauntings Cartridge
Crop a Dile and Eyelets
White Embossing Powder
Versamark Stamp Pad
Heat Gun
Dimensionals
White Gel Pen

I started with a 4 1/4 x 11" piece of black cardstock, and I scored it at 2 3/4 and 5 1/2.  This forms the base of the easel card.  I set eyelets in the corners of the spider paper using my Crop a Dile and then adhered it to the cardstock.  I cut Frankenstein and his bride at 4 1/2 inches (they were surprisingly easy to assemble) and then glued the bottom half of their bodies to the lower half of the card, below the score line.  That way they will pop up when you set up the easel. I also glued their hands together :) I used a little Startdust Stickles on Mrs. Frankys white hair streak, because let's face it, even monsters deserve a little bling, right?

The sentiment was from the Michaels $1 bin.  I can't stress enough the pure awesomeness of that bin.  I have found so many wonderful $1 cardmaking finds there!  I stamped with the Versamark pad, and then embossed it with white embossing powder.  This is another tip I picked up from Momo (are we sensing a pattern here?) from her Ustream class last night.  It is sooooo much easier to emboss in white then it is to stamp in white.  Stamping in white NEVER comes out right for me, no matter what ink I use.  Using the white embossing powder was the best idea, and the sentiment looks perfect!

I popped up the sentiment on Pop Dots, faux stitched around the card and VOILA!  There you have it.  When you fold the card back down, it is the perfect A2 size.

On an unrelated note, I was playing around with my new Distress Inks to get ready for a project I'm doing in a few days, and I made this tag.

Isn't that COOL???   The two colors on that tag are Spiced Marmalade and Walnut Stain (can you believe that tag used to be white?). I also used my Cuttlebug and a Sizzix embossing folder to emboss bats all over the tag.  I'm slowly becoming obsessed with Distress Inks...

Have a great day everyone!!


Friday, September 10, 2010

Trick or Treat! (plus a video!)

The video I posted yesterday got me hooked, and I immediately wanted to make another one.

Except maybe actually making something this time  ;)

I really loved my little witch frame gatefold card I made the other day, so I decided to make another one.  I wanted to use Happy Hauntings, but use a cut that isn't very popular (like the shoes or the frames).  This morning I literally woke up with an idea for a card in my brain, and I couldn't get it to go away until I sat down and made the thing :)  I think it turned out really cute, let me know what you think!!


Also, I got the tutorial on how to make gatefold cards from Momo's Ustream class.  She's been doing a weekly live class and they are SO fun and SO informative.  I've learned so much and she's only had two!  You can see recordings of previous classes at her website HERE.  Mari (AKA Momo) is such a sweet girl, you'll love her blog :)

I'm really excited to have so many followers.  I've decided when (or if) I get to 100 followers, I'm going to do a giveaway of some sort.  Not sure of the prize, but I promise it will be fun.  So, if you're not a follower yet, become one today!  I can't wait to share all of my crafting and baking fun with you :)

Tuesday, September 7, 2010

Cardz TV Halloween Challenge Card


I may or may not be slowly becoming obsessed with Halloween papers and cards.

How did I realize I had a problem?


When I discovered I had more Halloween themed stamps and paper packs then I did REGULAR stamps and paper packs.

Hello, my name is Kristin, and I'm addicted to Halloween crafting.

One of my favorite blogs, Cardz TV, is having a Halloween Challenge, and of course, I couldn't pass it up.  So here is my entry.

Please ignore my fingers...now I really want a manicure.  
Also, please excuse the crappy photo quality.  I swear I'm going to make a light box soon!

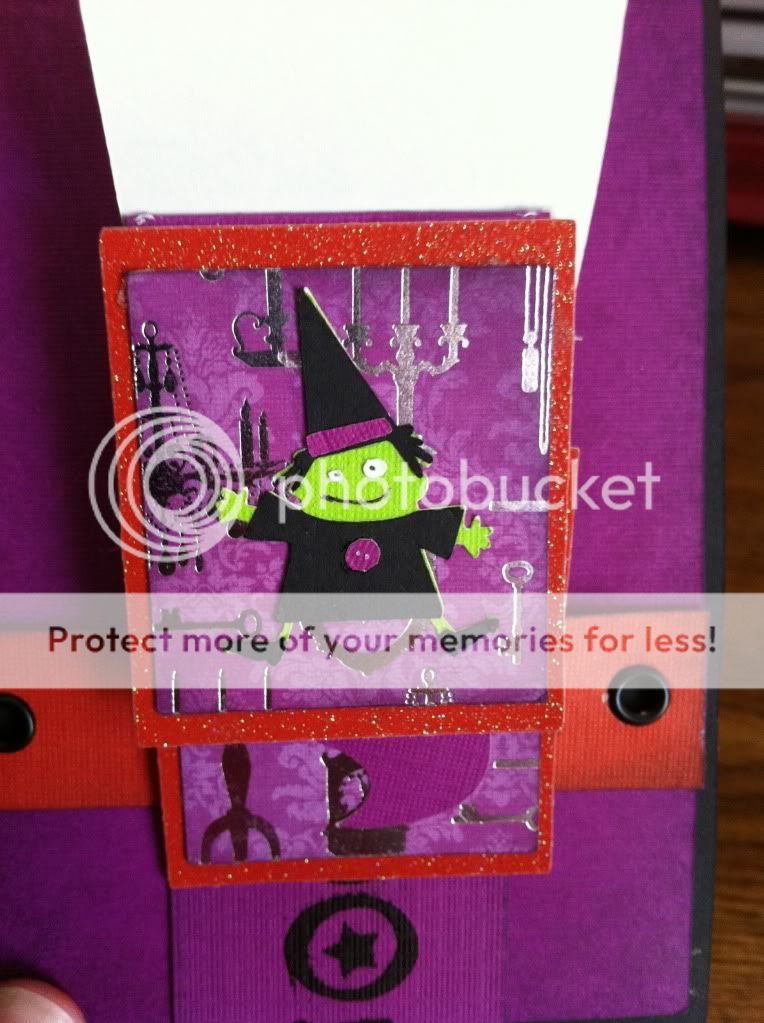
This is my first attempt at a gatefold card, and I'm pretty sure I'm in love.  The witch frame on the front is from my new favorite cartridge, Happy Hauntings.  I cut her at 4 inches, and then used my Jolee's hotfix tool to add a little bling  All of the paper and cardstock is from the yummy DCWV Midnight Spell Collection.  Yes, I own it ALL.  I love it that much.  The chandelier stamps are from a Martha Stewart Halloween stamp set, and the "Boo" sentiment is from a stamp I found in the Michaels dollar bin (LOVE those dollar bins!)  The two rose embellishments on the outside are from Recollections.

Want to submit your own card for the challenge?   Head over to Cardz TV and submit your own!  She's keeping the prize a secret (but who am I kidding, I would have made this card prize or no prize).

Wednesday, September 1, 2010

My Entry for MoMo's Tuesday Design Challenge

As I was reading Made By Momos blog entries this morning, I saw she was having her Tuesday Design Challenge, and this week the challenge was to design a black and white card using one other color.  I decided to test my creativity and make a card for the challenge.  This is my first challenge card EVER, and I think it's pretty cute.  I made a Halloween card using black, white and orange.  Ready for it?


All cardstock is DCWV, and the glitter paper is from their Midnight Spell pack, which is ADORABLE.  The images on the front are from a Sizzix Halloween embossing set on Core'dinations paper that I sanded to reveal the white core.  The cute little spider brads on the front I found at Michaels, and of course, it's hard to make a Halloween project without using Martha Stewarts Drippy Goo punch :).  On the inside, all of the stamps are from one of Marthas new Halloween stamp sets.


I have a question for whoever reads my posts, especially if you photograph your cards: what's the best way to get great card photos?  Is it the camera, or the setup?  Please share your opinions in my comments, I would love to hear them!